Assets
Here you can find all assets belonging to the component. Assets are files that can be attached to a component. The primary use case for assets is to upload custom 3D-models, textures or audio files for use inside the component. Assets can also be used to store documents or other files related to the component.
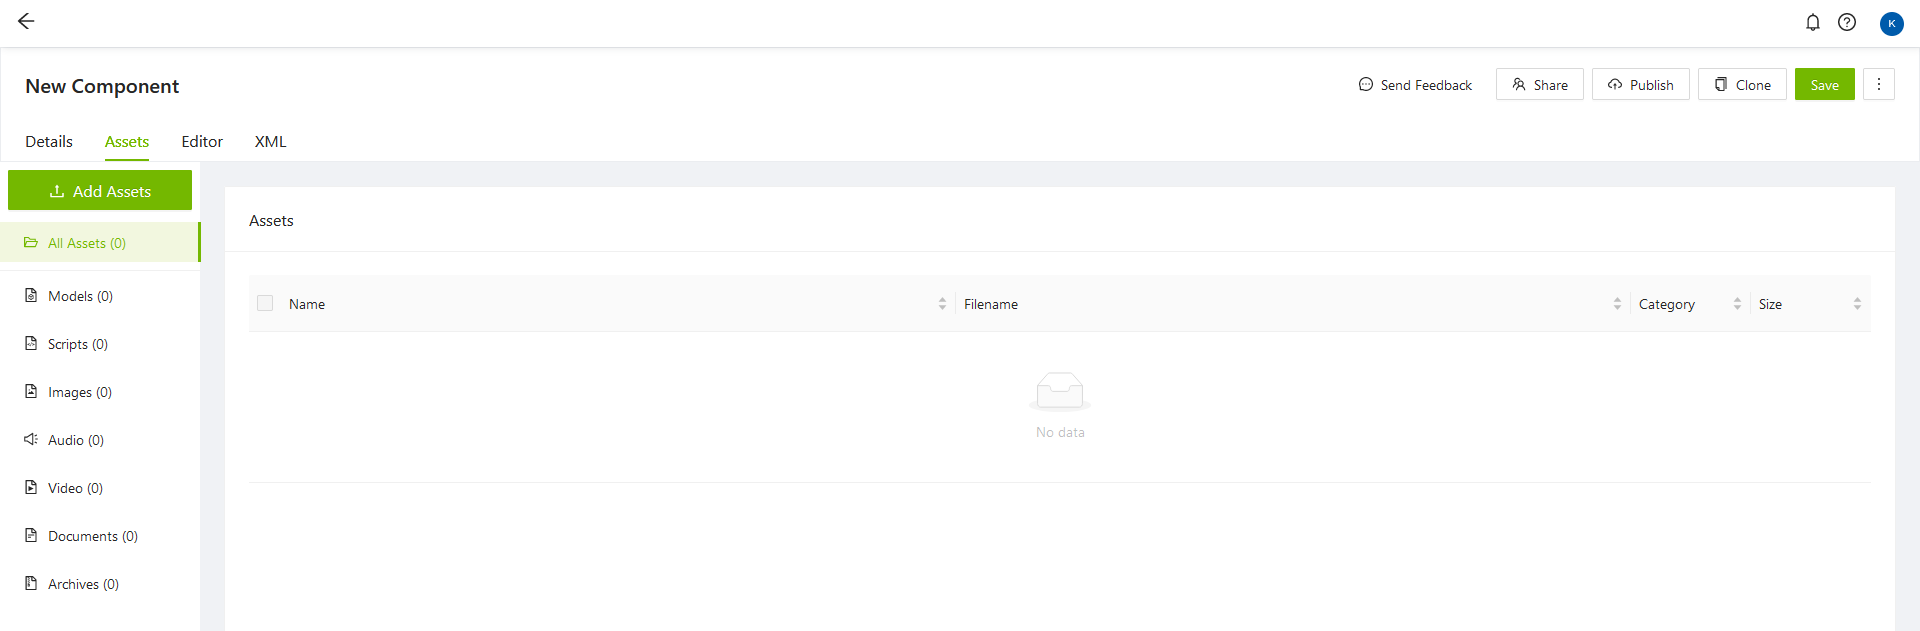
Assets are divided into categories, to make it easier to organize and find your assets. Each asset is automatically assigned a category on upload, depending on its filetype.
- Models - dae, glb, gltf, igs, iges, obj, step, stl, stp.
- Scripts - py.
- Images - bmp, dds, gif, jpg/jpeg, png, svg, tga, tif/tiff, webp.
- Audio - mp3, ogg, wav.
- Video - mp4, webm.
- Documents - csv, doc, docx, odt, odp, ods, pdf, txt, xls, xlsx.
- Archives - rar, tar, tar.gz, zip, 7z.
Note
We only allow filetypes included in the list above.
Uploading Files
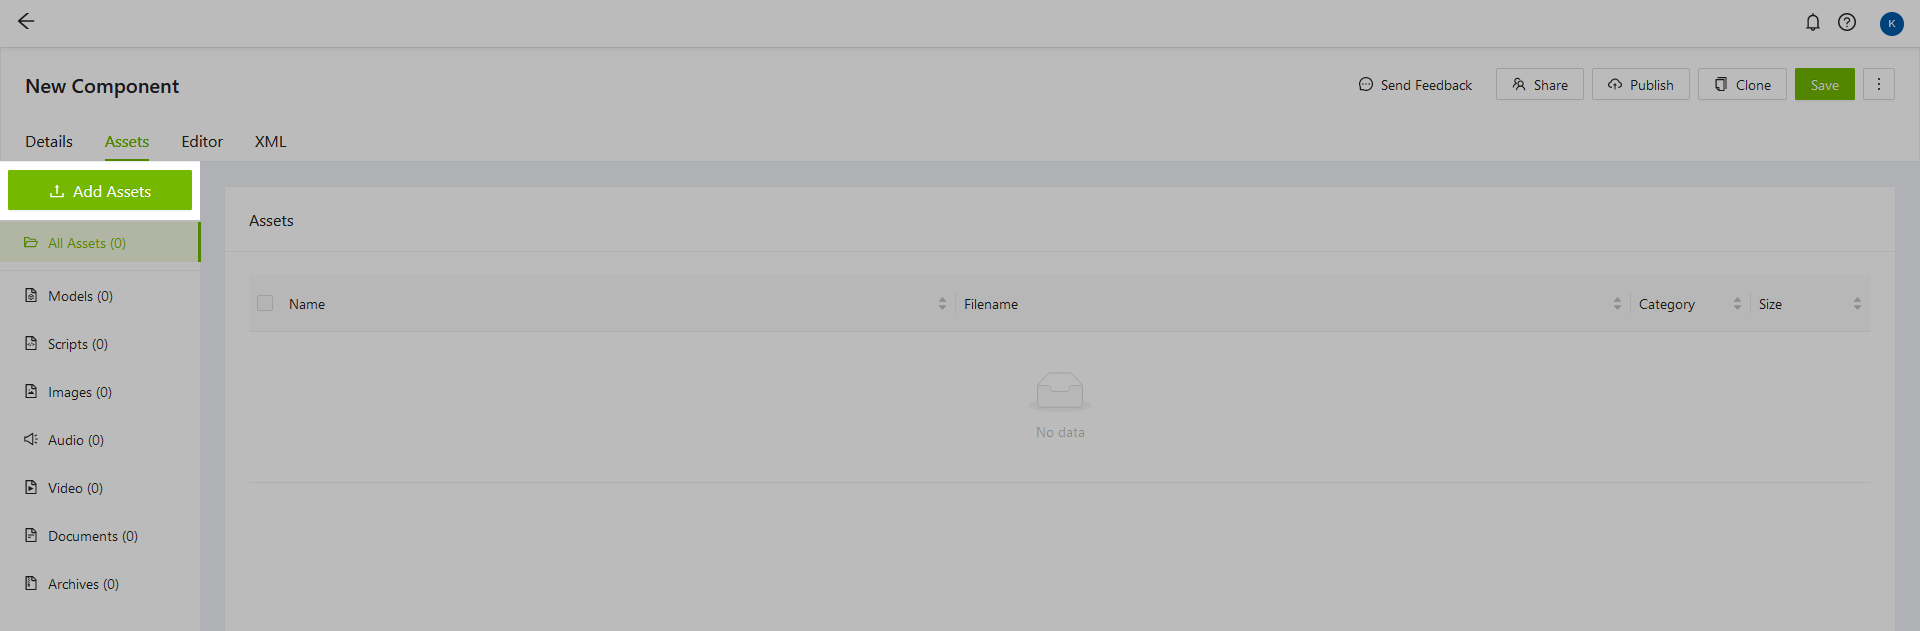
To add assets to your component, click on the Add Assets button, located at the top-left corner.
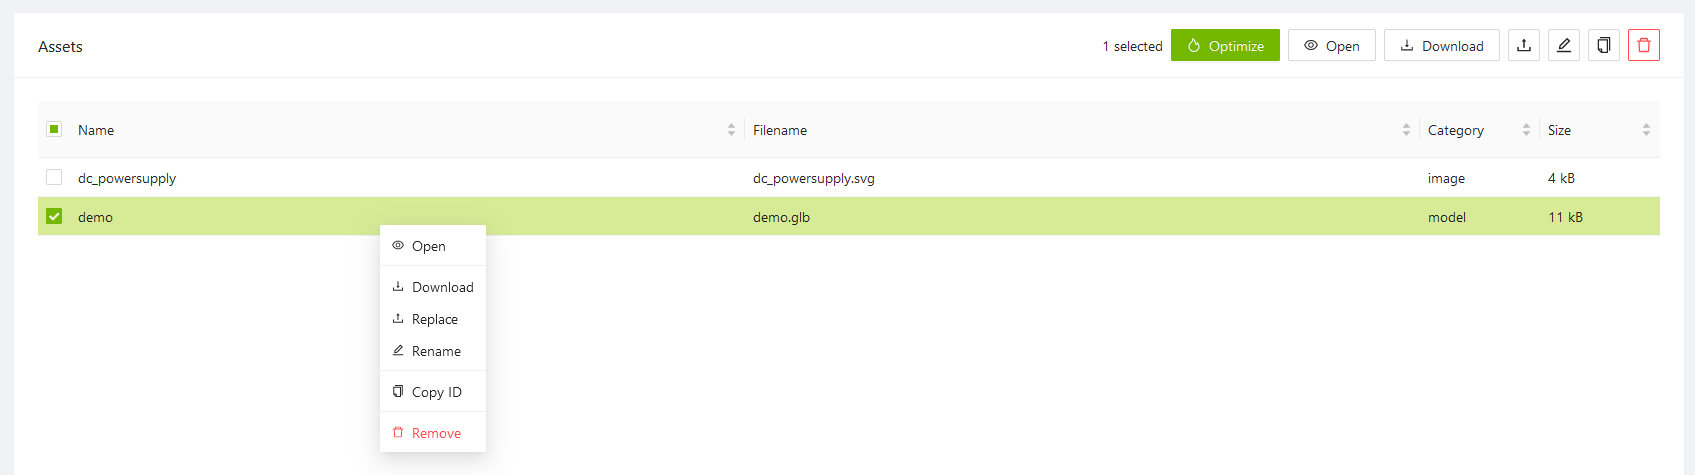
Once you've picked a file and uploaded it, it will show up in the list as an asset:

Actions
There are a number of actions that can be performed on a selected asset. The actions can be accessed from the action bar in the top right corner of the asset list, or from a context menu. The context menu can be opened by right-clicking an asset in the asset list.
Note
Available actions vary depending on filetype, number of selected assets and permissions.
Optimize
The "Optimize" action opens a modal where you can choose to optimize a model file. This action is only available for 3D models of the filetypes .glb and .gltf.

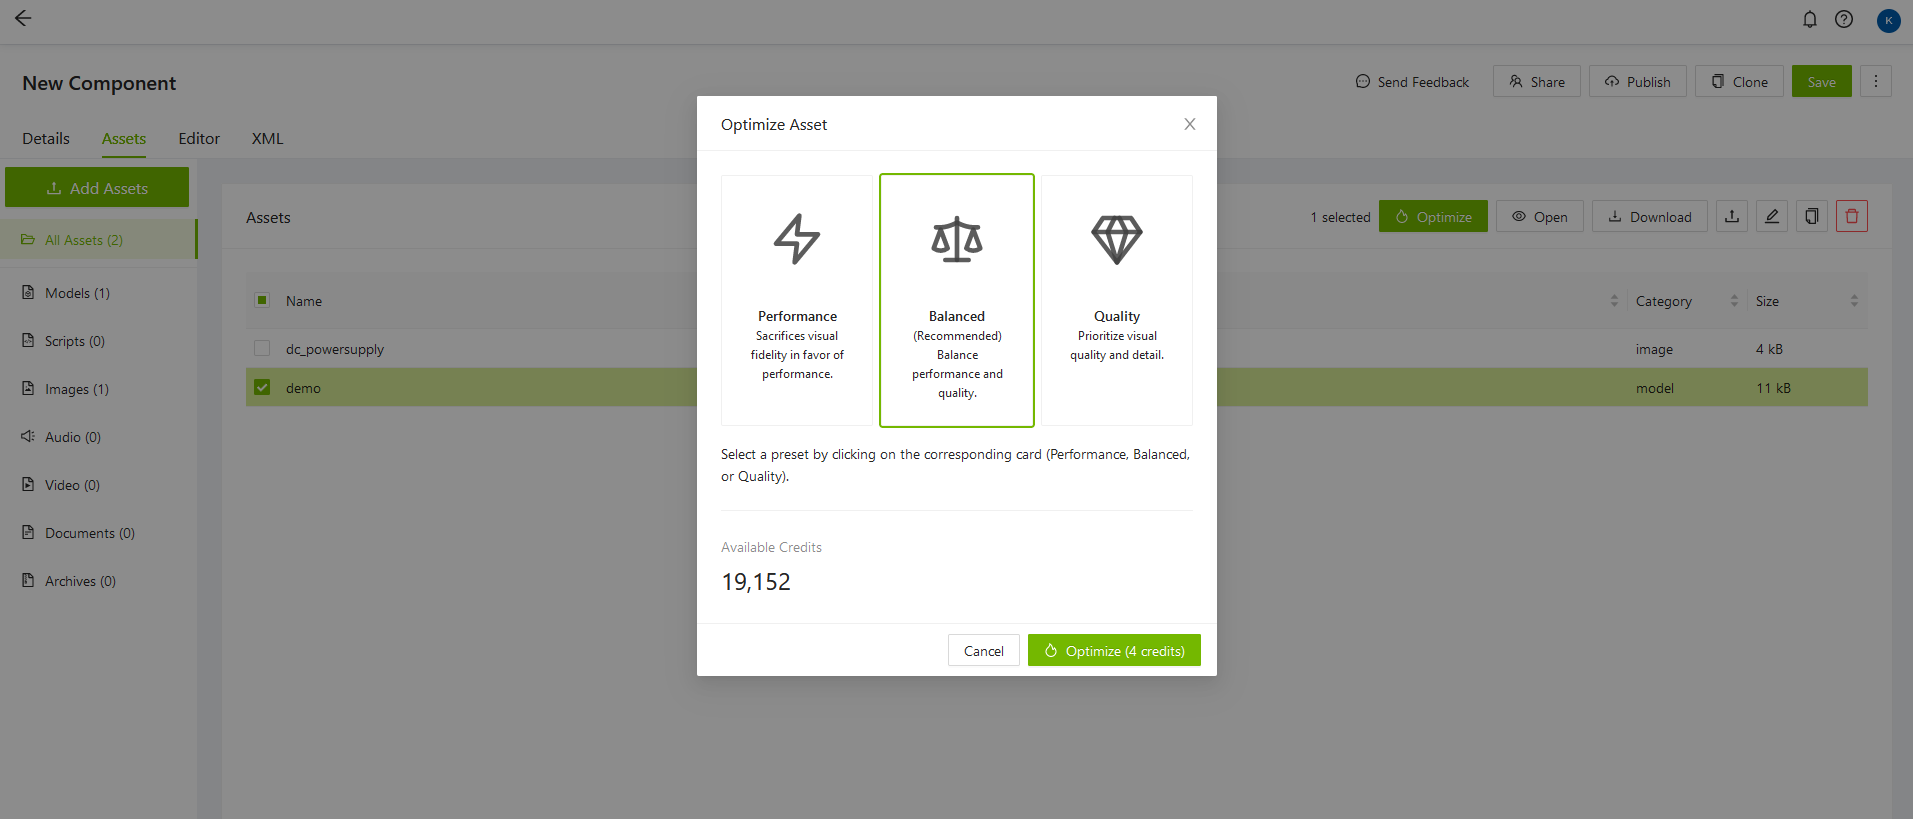
There are three optimization settings to choose from:
- Performance - Lower visual fidelity, higher performance
- Balanced - Medium visual fidelity, medium performance
- Quality - Higher visual fidelity, lower performance
Note
Regardless of what preset you choose, the optimization costs 4 credits. In case of an error the credits are automatically refunded.
When you've chosen a preset and clicked the "Optimize"-button to confirm, an optimized copy of the file will appear in the asset list. Remember that the optimization process may take several minutes, depending on the complexity and size of the model. It is not required for you to remain at the asset list while the optimization is on-going, so you are free resume your work while the optimization continues in the background. You'll be notified once the process is complete.
Note
When optimizing very large and complex models (over 1 million triangles), we recommend breaking the model down into multiple, smaller models before optimizing for best results. Otherwise you risk losing a lot of detail. You can use our Model Editor to break down the model, or you can use a 3D modelling software such as Blender.
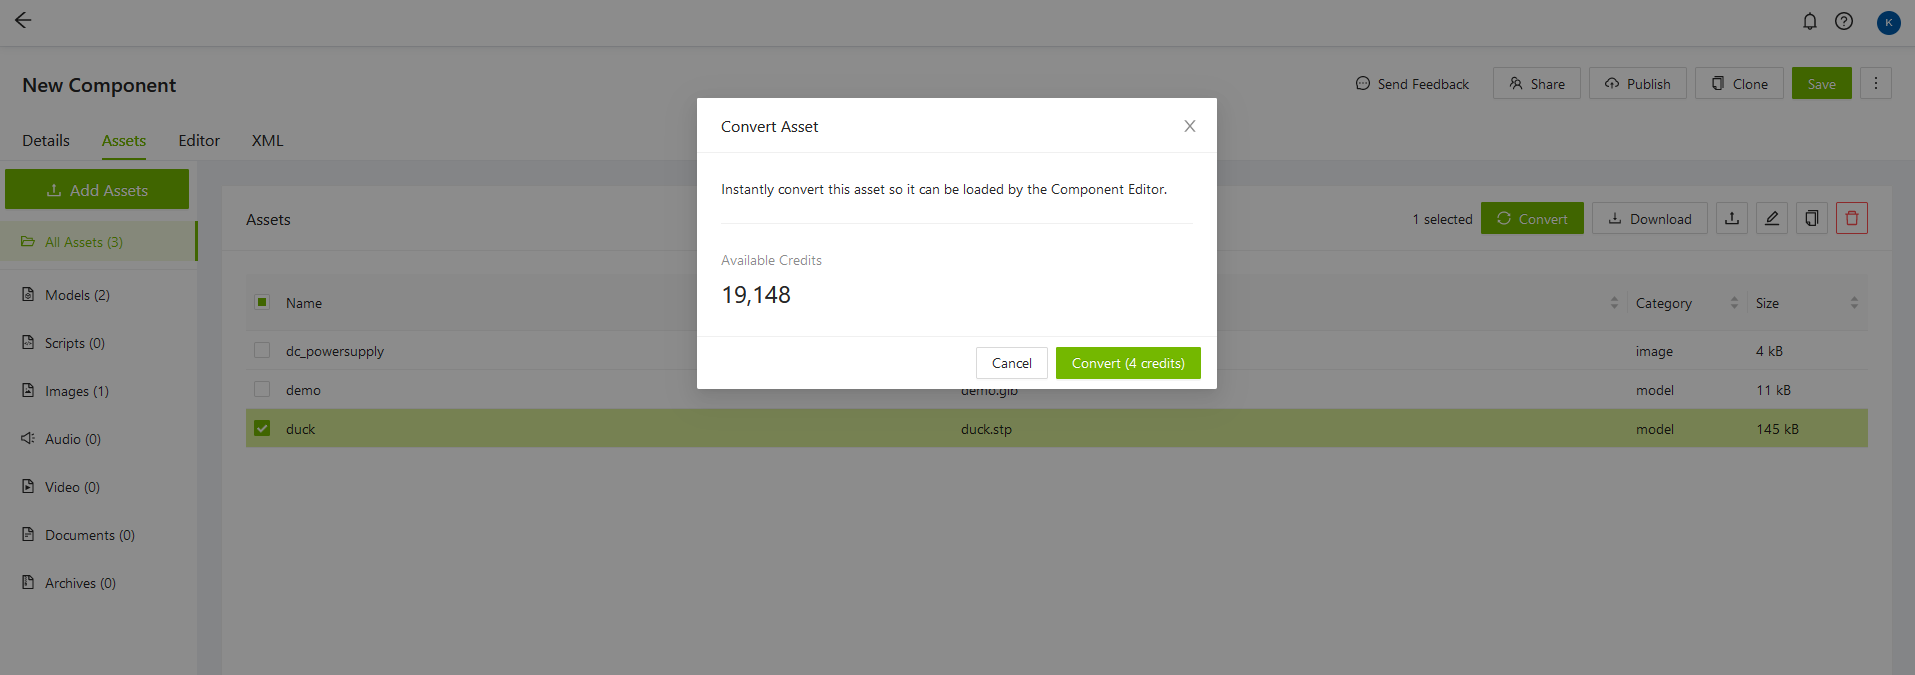
Convert
The "Convert" action creates a copy of the chosen file and converts it to .glb-format. Clicking the button opens a modal where you're asked to confirm the conversion. This action is only available for 3D models of the filetypes .iges, .igs, .step and .stp.
Note
As with optimization, the conversion costs 4 credits. In case of an error the credits are automatically refunded.

Open
The "Open" action opens the selected asset in the Model Viewer. This action is only available for 3D models of the filetypes .glb and .gltf.

Download
To download the selected asset's file, click the "Download" button, or select "Download" from the context menu.

Replace
To replace the selected asset's file, click the button with the upload icon, or select "Replace" from the context menu.
Note
You can only replace assets with files of the same filetype.

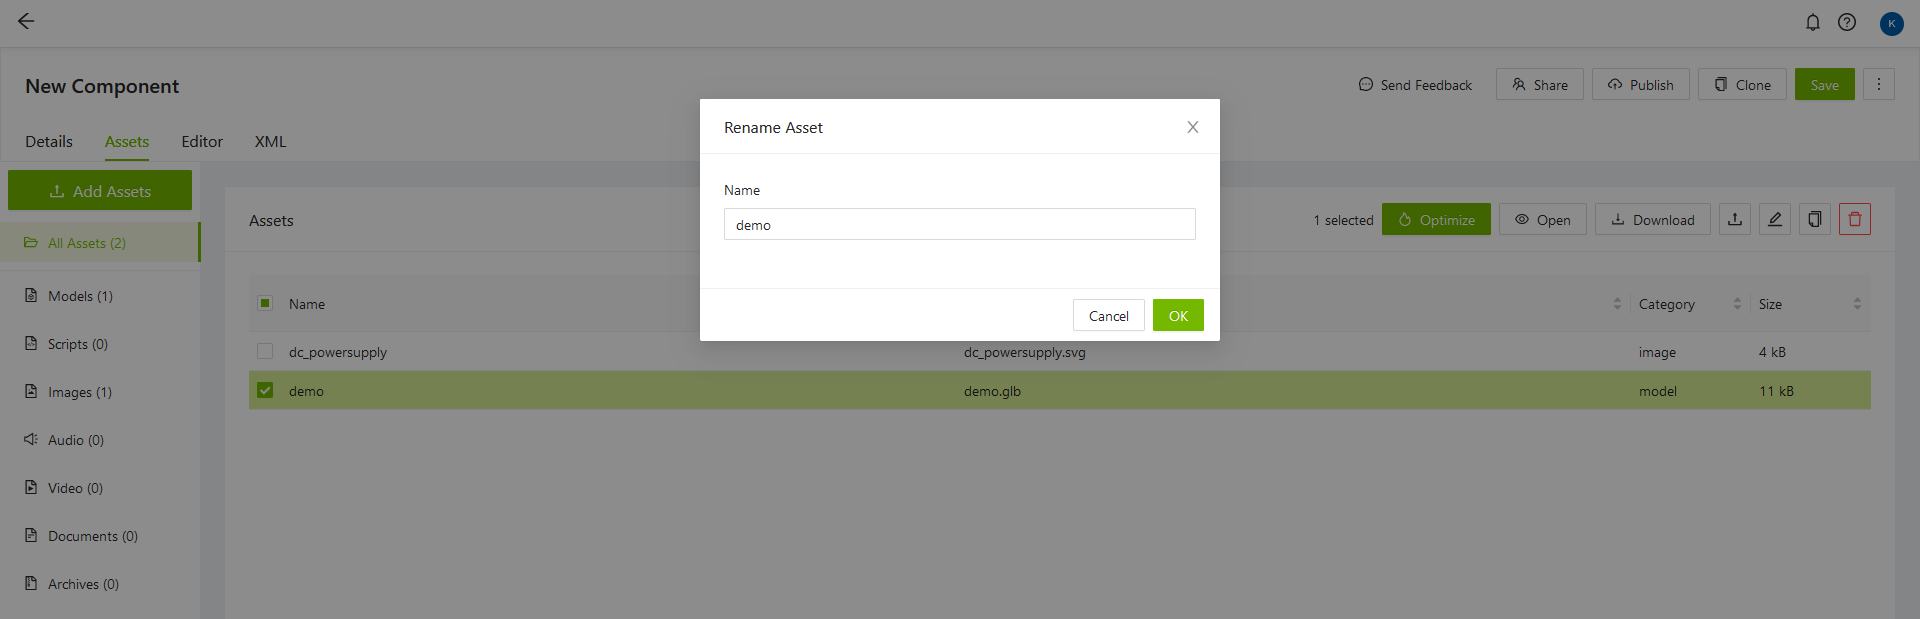
Rename
To rename the selected asset, click the button with the pen icon, or select "Rename" from the context menu.

Copy Asset ID
To copy the selected asset's ID, click the button with the copy icon, or select "Copy Asset ID" from the context menu.

Delete
To delete the selected asset, click the button with the delete icon, or select "Delete" from the context menu. A confirmation window will be shown before deletion.
Note
You can only delete assets that are not currently in use by the component.
